How to Use Your Rear Burner and Rotisserie Like A PRO™
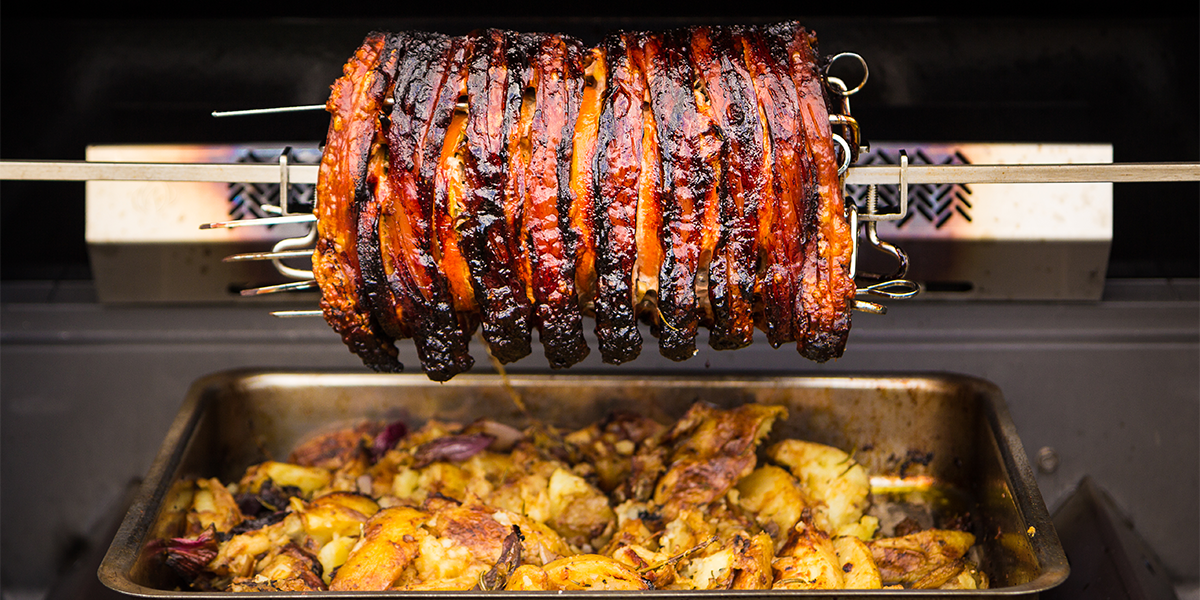
It seems like all of the barbecues on the market nowadays have a rear burner (including your Napoleon). Using a rear burner is a great way to produce succulent meals and reheat food – like pulled pork. With the tips and tricks for using your rear burner found in this blog article, you’ll be creating culinary masterpieces in no time. It doesn’t matter if you’re talking turkey or rotissing a roast, these pointers will prep you for barbecue bliss.
Tips & Tricks For Using Your Rear Burner & Rotisserie.
Put a Little Prep in your Step
1. Measure the food. You don’t have to pull out a tape measure, but make sure that whatever you are cooking is smaller than the length of the rear burner to ensure that everything gets a kiss of that delicious infrared heat to ensure even browning.
2. Know your equipment. If you are using the rear burner with a rotisserie, you need to know the weight of the food you are going to be cooking and the maximum weight the rotisserie can handle.
3. After seasoning, truss any meat, even solid roasts, well to ensure that there are no flappy bits. This will make sure that whatever you cook will be cooked and browned evenly. Bird wings and legs aren’t as likely to get too dark too fast.
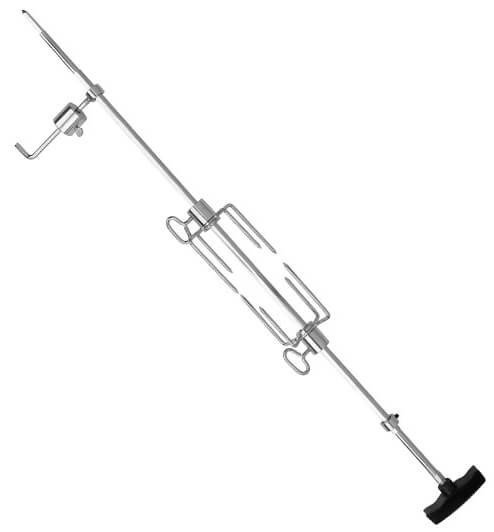
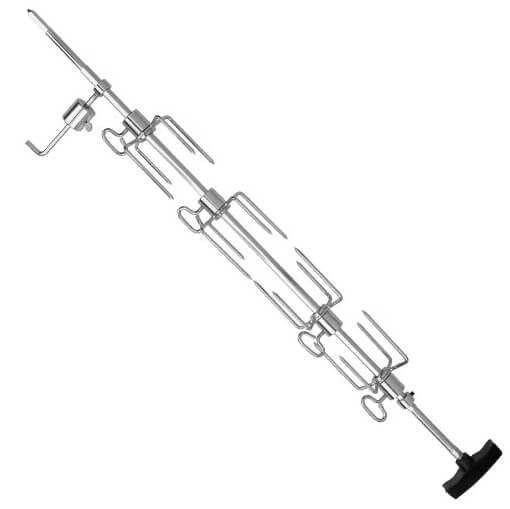
4. Assembling the Rotisserie. Before adding food, slide the stop bushing onto the spit rod but do not tighten. Then slide on your first set of forks, ensuring that they’re facing away from the handle and stop bushing. It may seem basic, but we’ve all either forgotten to put on the forks or put them on backwards. I’m hoping that by reminding you, I remind myself too.
5. Make sure that the load on your rotisserie is balanced before beginning the cook. This makes sure that cooking is even, and the motor won’t burn out trying to move an imbalanced load. To balance your food on the spit rod, balance the rod between your palms or over the sink. If the food quickly spins to the opposite side you know that the load is imbalanced. Add the counterbalance to the rod and repeat, adjusting the balance until the rod and food don’t move.
6. Always use a drip pan under whatever you are cooking with the rear burner. Place the drip pan on the cooking grids if the food you are cooking will fit. If not, remove the grids and place the drip pan on the sear plates. Fill the drip pan at least halfway with anything from water to wine; even beer or stock will do nicely. Not only will this catch your drippings, but it will help you make incredible gravy while keeping your grill clean. This also ensures that if there won’t be a flash fire if the food only produces a little bit of rendered fat.
7. Preheat the grill properly before you begin to cook, this takes time and you need to be patient - especially in cold weather. Use a high temperature for the initial sear – temperatures around 425°F will brown the outside of your meal beautifully before you turn the rear burner down to fully cook it - just follow the recipe. You can also start low and sear later.
Please note that you must remove your warming rack from the grill when using the rear burner to avoid possibly damaging your warming rack.
The Meat on the Spit Goes 'Round & 'Round
8. Have a screwdriver or butter knife to tighten the stop bushing in the right place when you place the spit onto the grill. Your grill is hot and it can be a challenge to do with heat resistant gloves, and definitely is not recommended to do barehanded.
9. You can use the rear burner and rotisserie in a similar fashion as your oven to cook meals. Either start things up high, around 425°F for a 15-minute sear, then turn the burner to medium-low, around 275°F to 325°F, for the remainder of the cook. Conversely, you could just start at 275°F and if necessary sear the meat using high heat when it’s nearly cooked – around 10°F from finished temperature. The second method is very similar to the reverse sear method of barbecue cooking.
10. Unless otherwise instructed in your recipe, keep the lid on your grill closed as much as possible throughout the cook. This will keep the temperature inside your grill even.
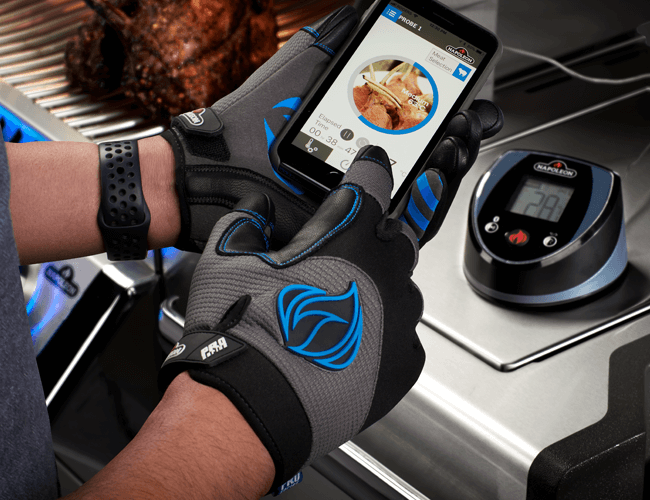
11. In this case, instead of using a wireless thermometer, it is recommended to use an instant-read digital probe thermometer or a pocket thermometer to read the temperature of your meal. Remember to turn off the rotisserie motor before checking the temperature and be careful not to touch the spit rod inside the meat.
12. If you’re saucing your meal, apply the sauce in the last 20 to 30 minutes to avoid burning any of the sugars in the sauce. Caramelization is delicious, but burnt sugar is not.
Learn more about caramelization
It's done. Now what?
Now that your meal has reached (or very nearly reached) the perfect internal temperature it’s time to take it off the grill to rest before serving. Turn off the grill and the motor.
13. One of the things I continuously forget is to have a place for the food to go when I am ready to bring it in. A large cutting board with a juice groove, or a platter, or even a baking dish to put the food in for transport. Not only that; have a safe landing zone for the food on the counter too. That spit rod is still very hot and you don’t want to bump into it.
14. Use heat-resistant gloves to remove the spit rod from the grill, and the forks and rod from the food once it’s inside. Those metal parts are hot stuff! You will also want a butter knife or flathead screwdriver to loosen the stop bushing, it will be difficult to with heat resistant gloves and too hot to do barehanded.
Not Just For Rotisserie
That’s right, the rear burner isn’t just for rotisserizing (is that a word? You know what I mean though right?) a meal. You can use it in a similar fashion as when you use the top element in an oven. The excellent convective heat you get in your Napoleon Gas Grill will help heat food, while the direct infrared heat will produce a beautiful caramelized char on top. Though not for every dish, this technique is handy when you’re reheating pulled pork and beef.
With all of these great tips, you should be ready and raring to go and make a delicious meal on your grill while using your rear burner. We have loads of great recipes for inspiration. What will you cook first? Leave a comment on one of our social sites like Facebook or Instagram with the hashtag #RearBurner and #NapoleonGrill and show us what you made.


